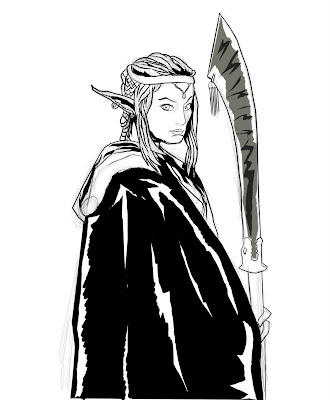
So after the line art layer on Photoshop I added a new layer over it called inking. What I did with the inking for this one was used a charcoal pencil and when you select form the brush tool tips the brush options has a shape dynamics option in there there should be a brush diameter control and there shoul dbe a drop down menu for it. Select Pen Pressure and set the percentage to 50. Then go to the Pen Tool and use either the freeform pen or the regular pen tool and go over the pencils, don't forget to set the line art layer's opacity to about 40%. As you start making the pen path and go to Stroke Path after you made the Anchor Points, make sure to have the Simulate Pen Pressure option checked then press ok. After all of that it looks like that.
No comments:
Post a Comment